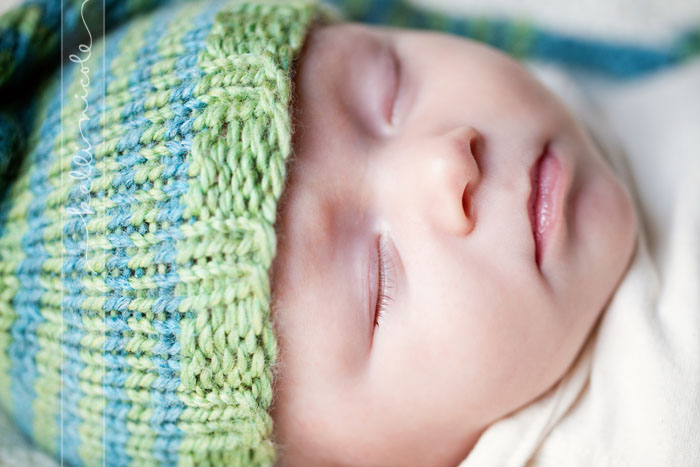
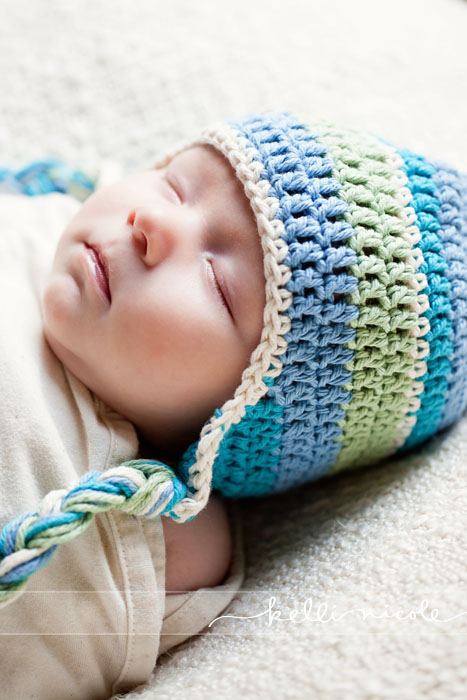
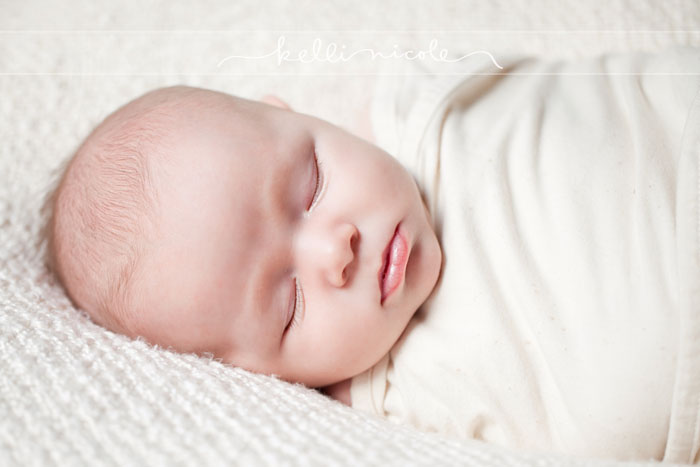
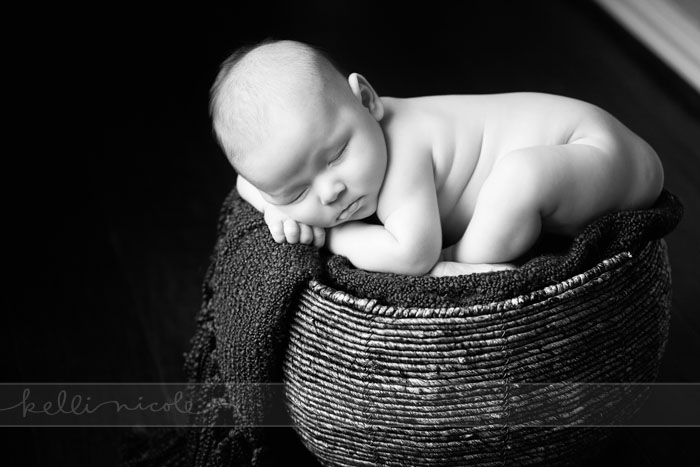
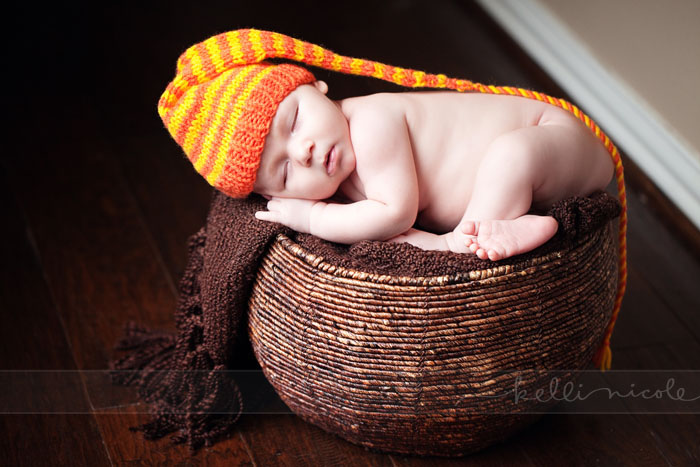
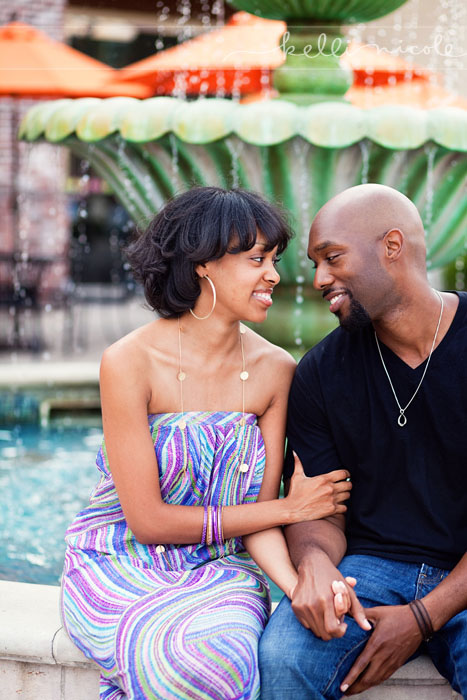
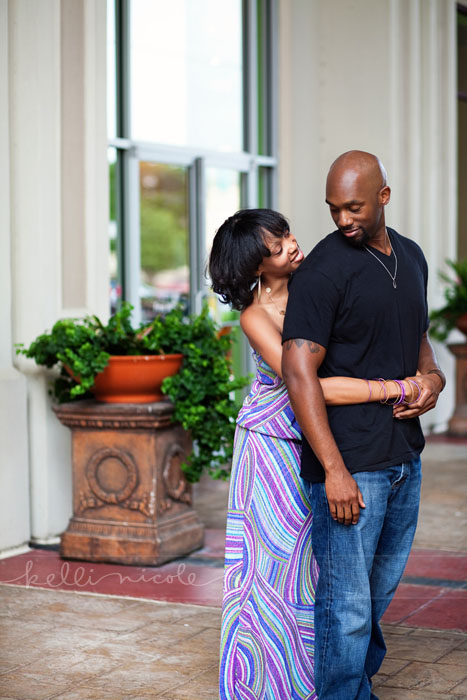
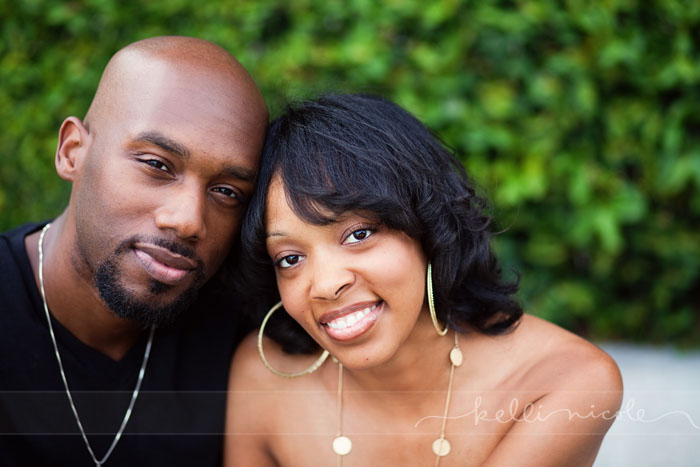
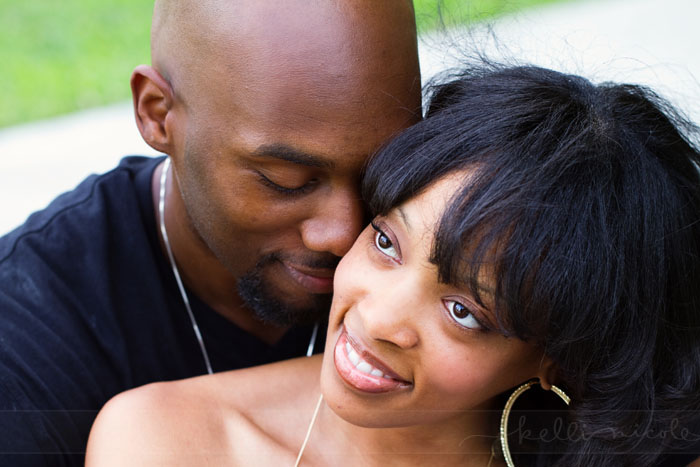
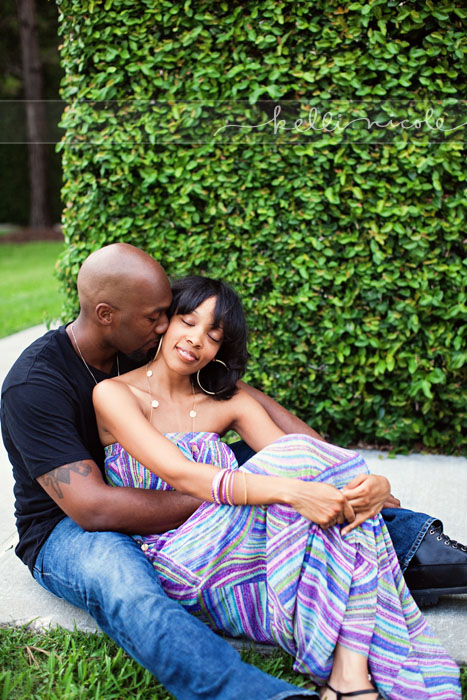
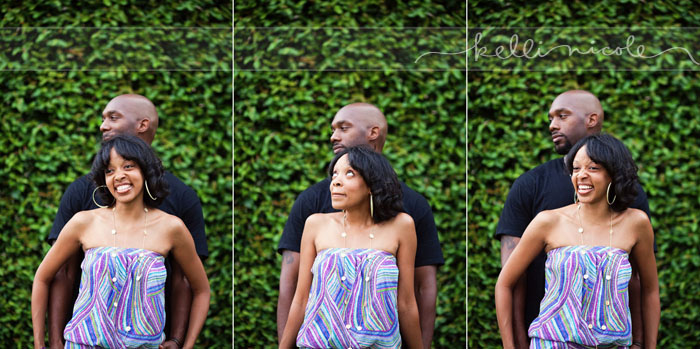
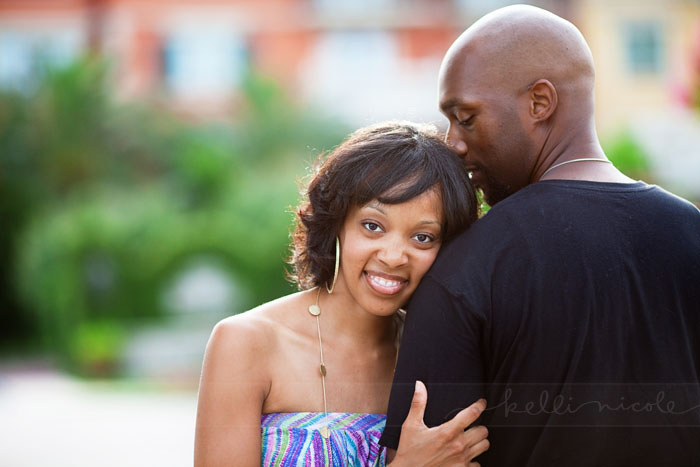
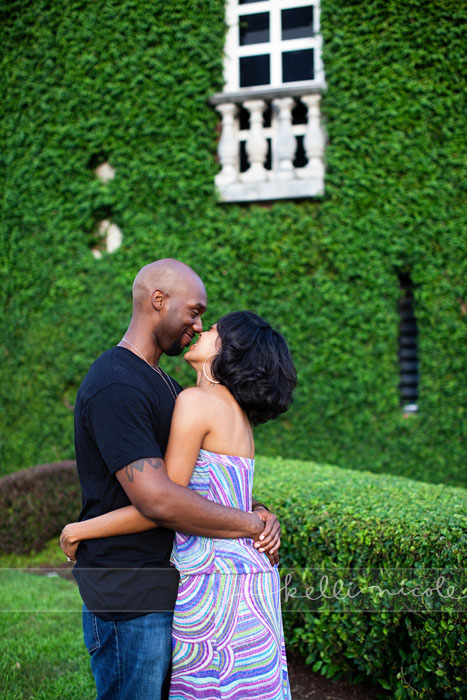
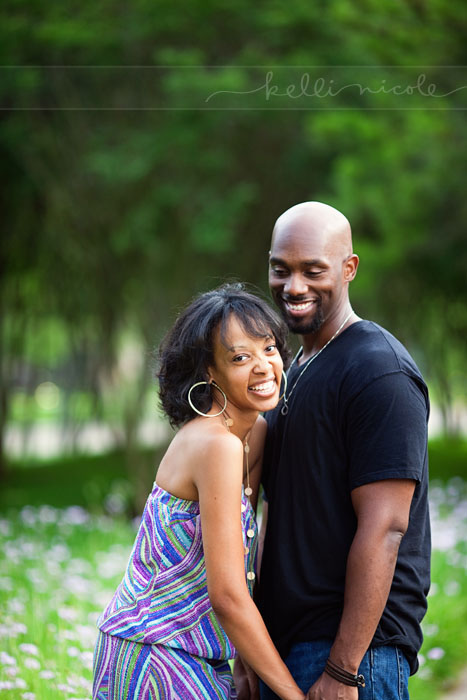
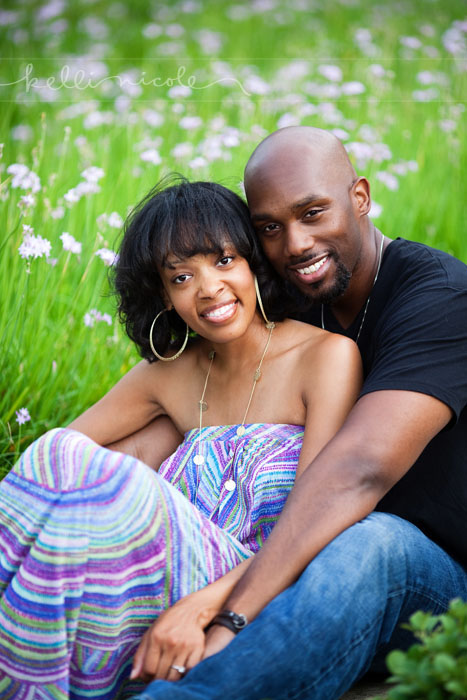
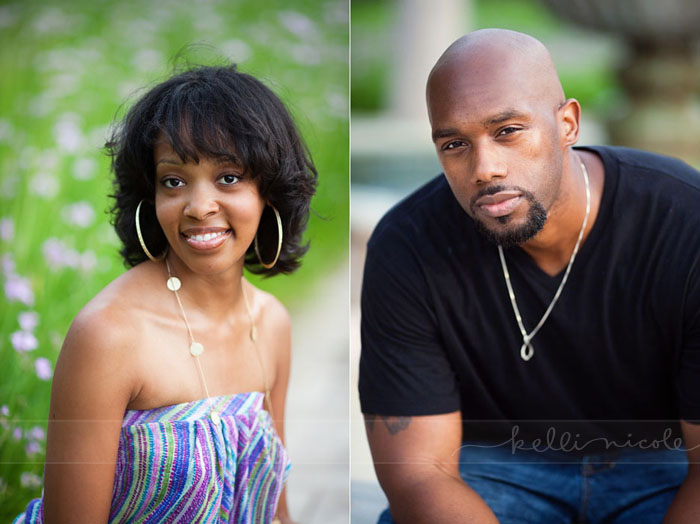
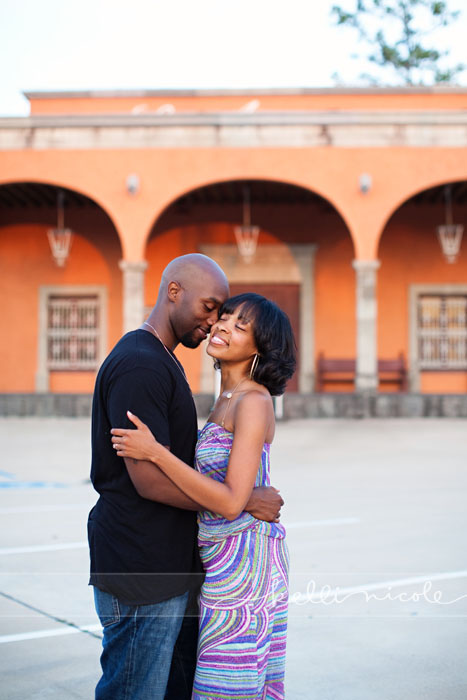
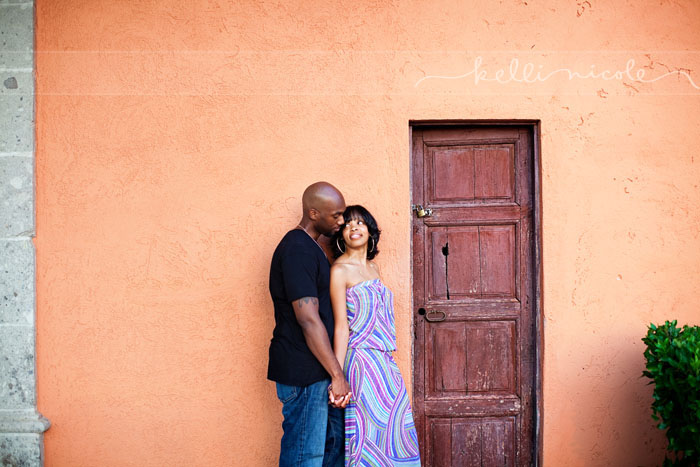
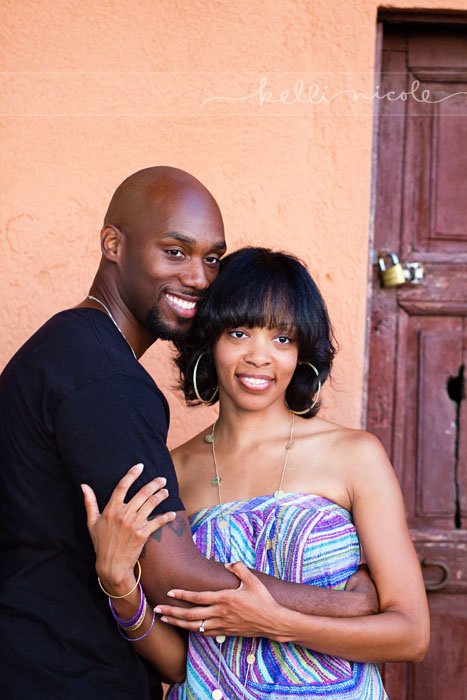
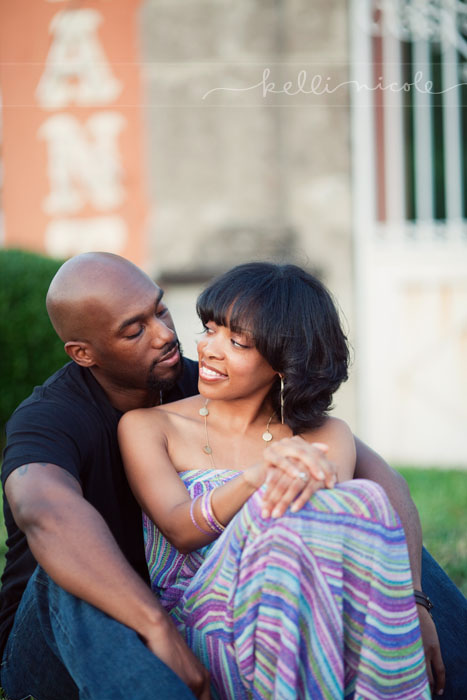
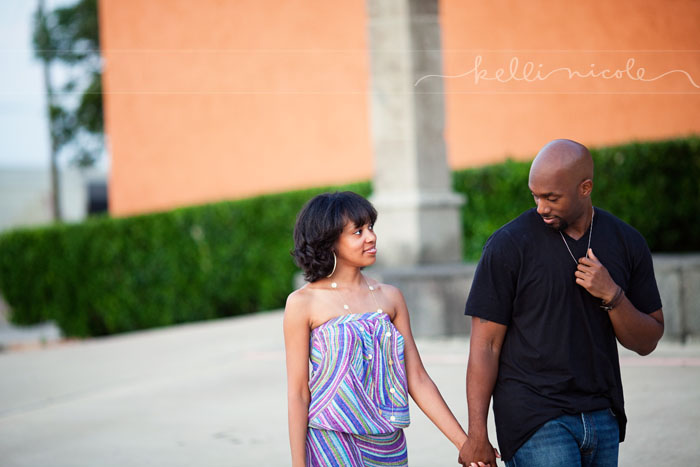
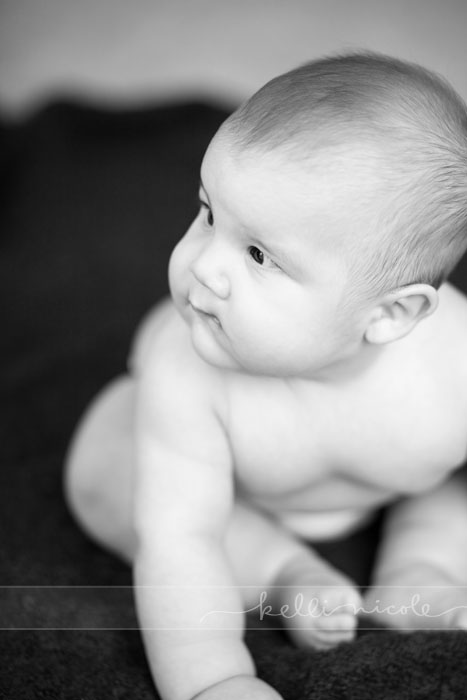
I’m often asked about my editing process by clients and, in an attempt to explain it here, I’ve got some visual aids for you.
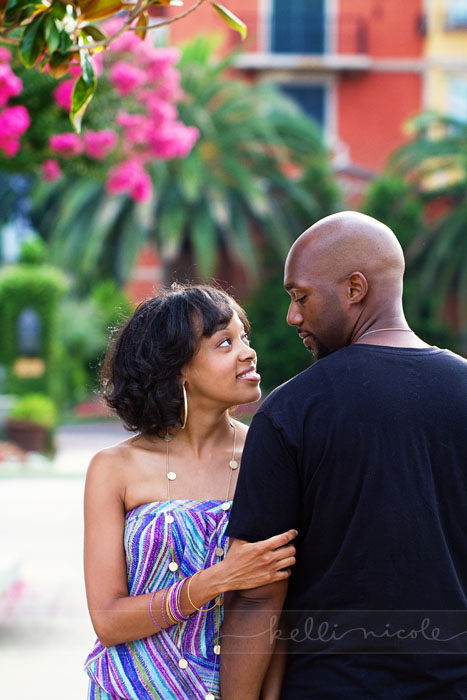
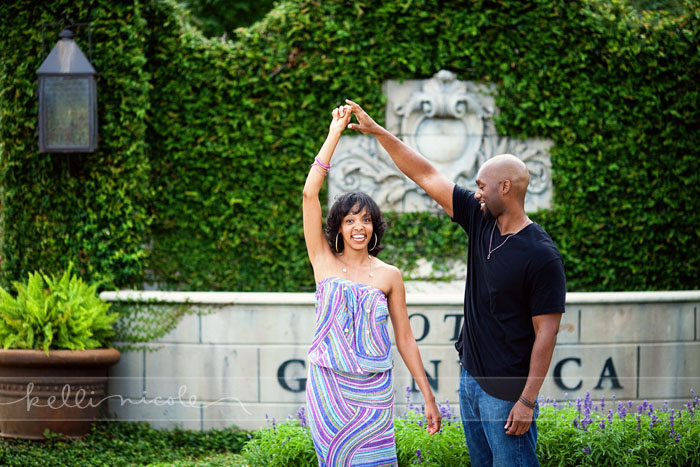
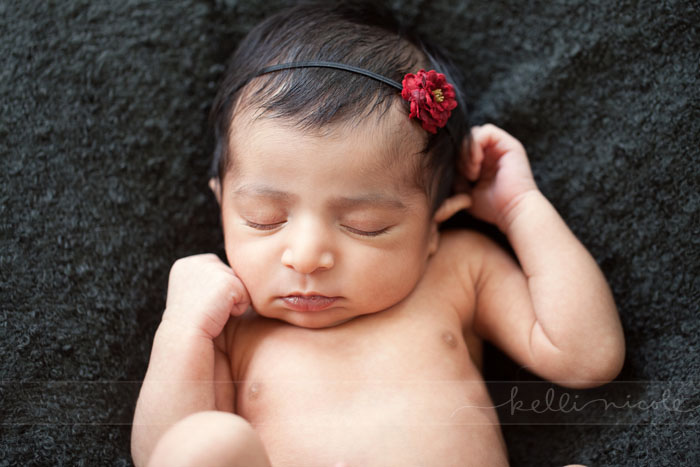
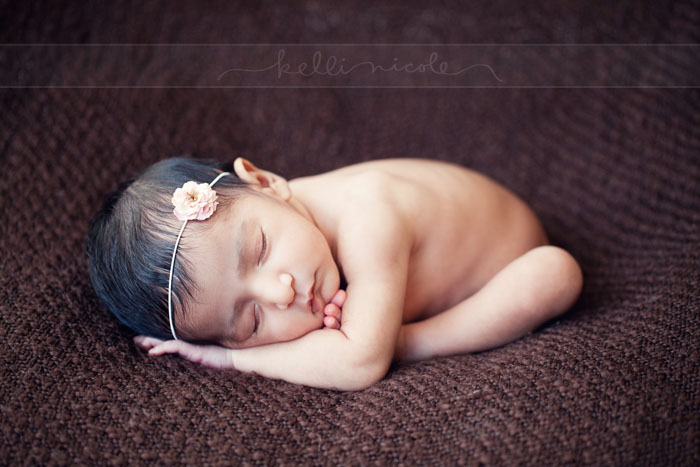
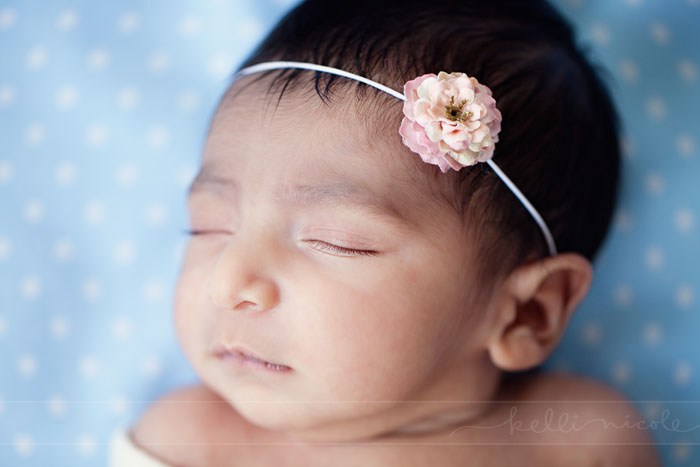
I’m going to show you a few examples of each image below. The first in each example is what photographers call SOOC, or straight out of camera.
This is what the picture looks like the moment it goes onto my memory card and the first thing I see on my computer.
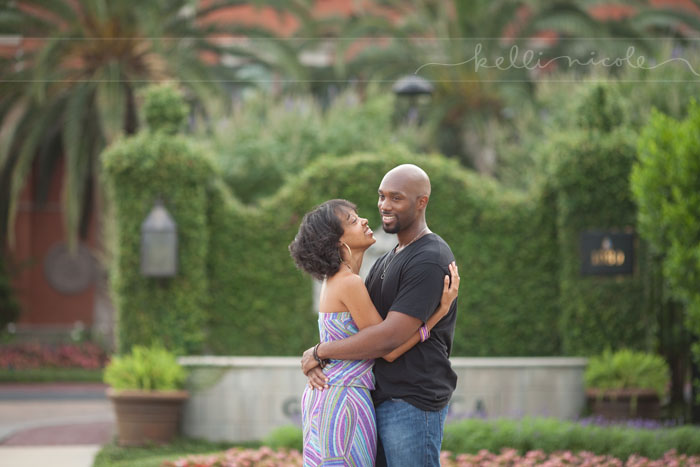
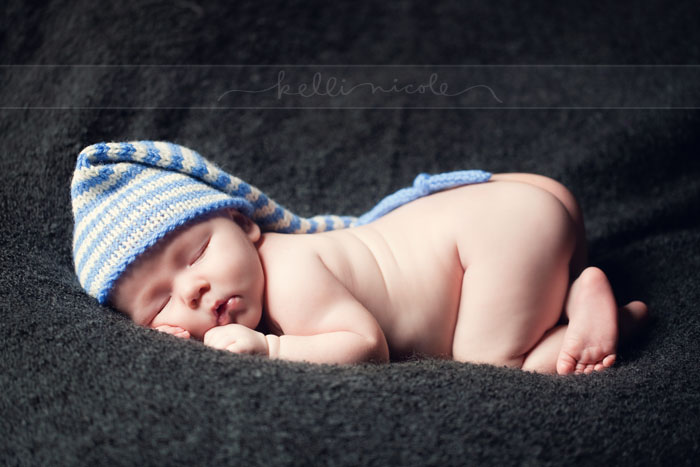
The second shot is after what happens to every picture that gets proofed. I import it into Adobe Lightroom and contrast/color correct each picture. All of the images that go on my proofing site or get put on a disc have been edited in Lightroom.
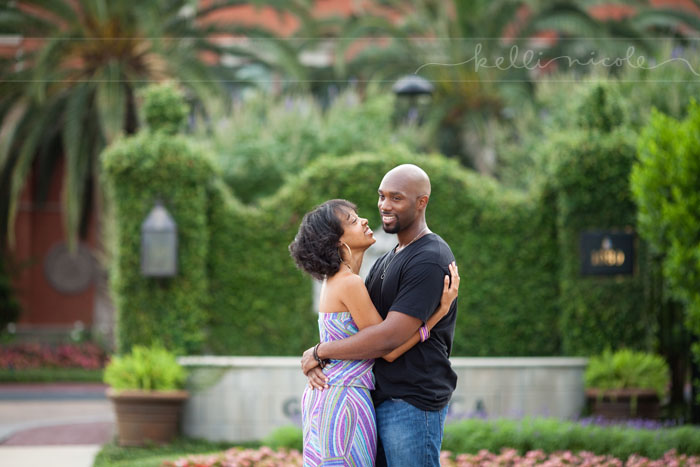
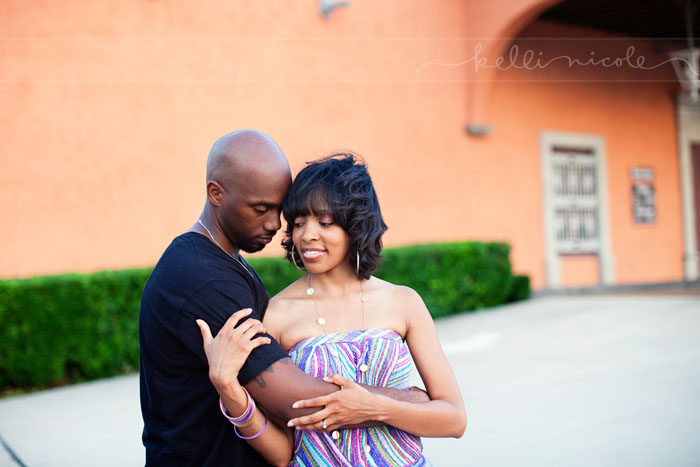
The third shot is what happens to my favorites, the client’s select favorites, and anything that gets blogged or printed. These are what I called “detailed edits.” A limited number of these also go onto a disc. These pictures have all gone through Adobe Photoshop after I export them from Lightroom. I often get rid of blemishes (though there were none to be seen in this shot!), smooth skin, selectively increase contrast in certain areas, and sharpen the picture.
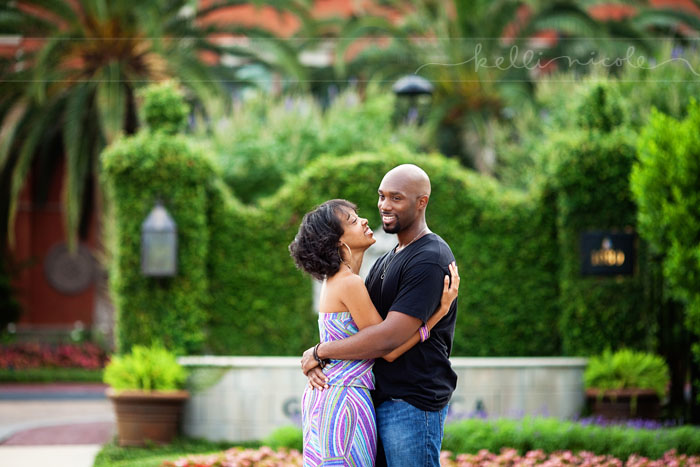
First, SOOC.
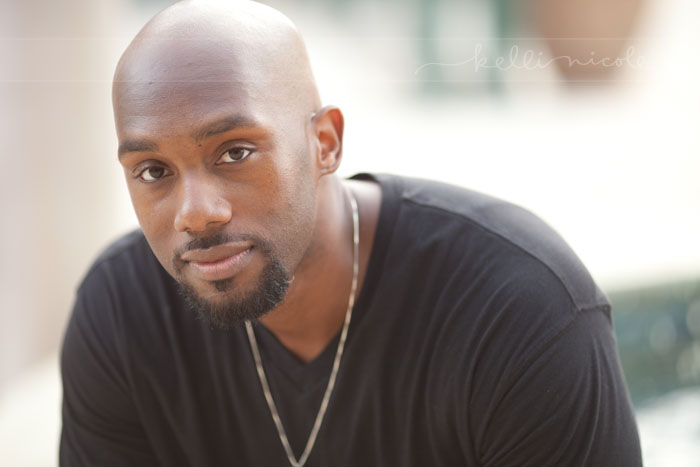
Next, after it’s gone through Lightroom.
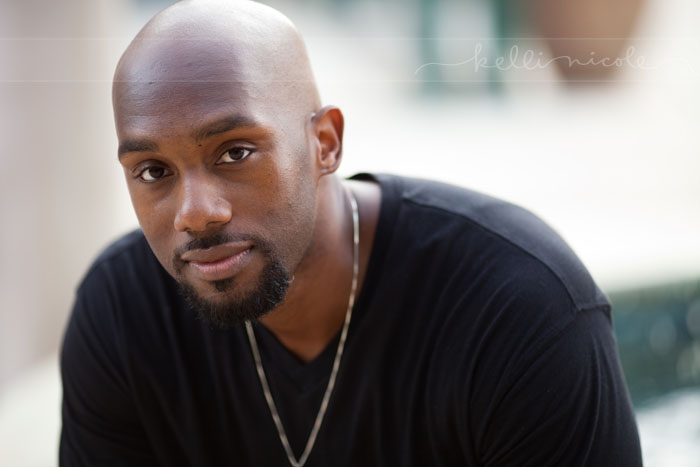
Last, after it’s been photoshopped.
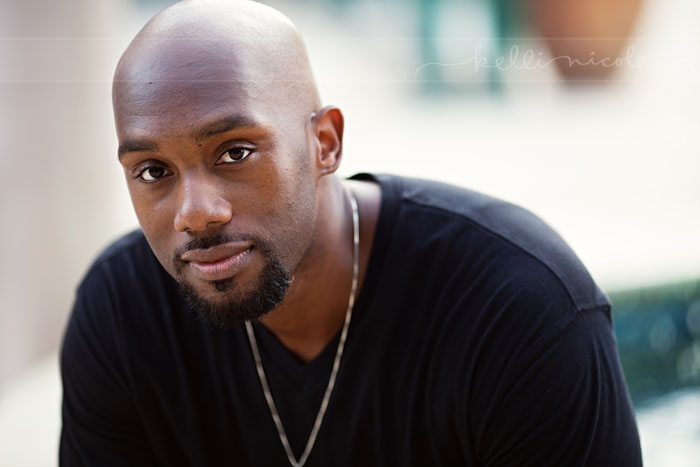
Last example, SOOC.
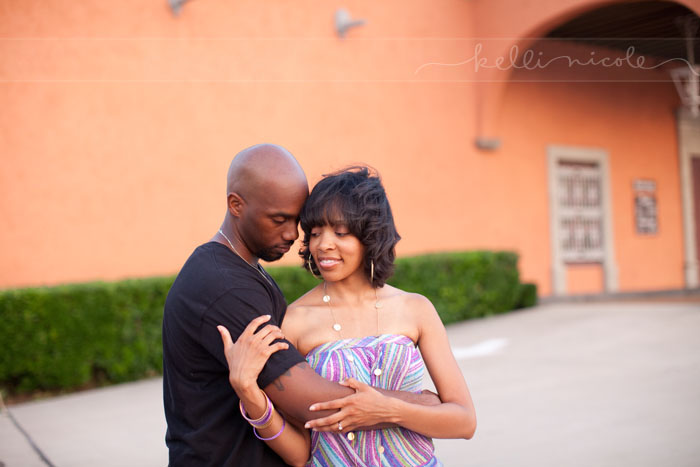
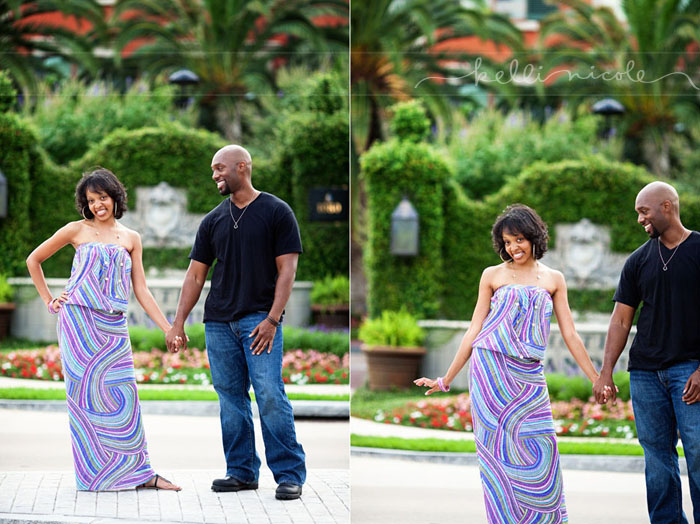
I cropped this one in Lightroom just a touch, but kept the same dimensions.
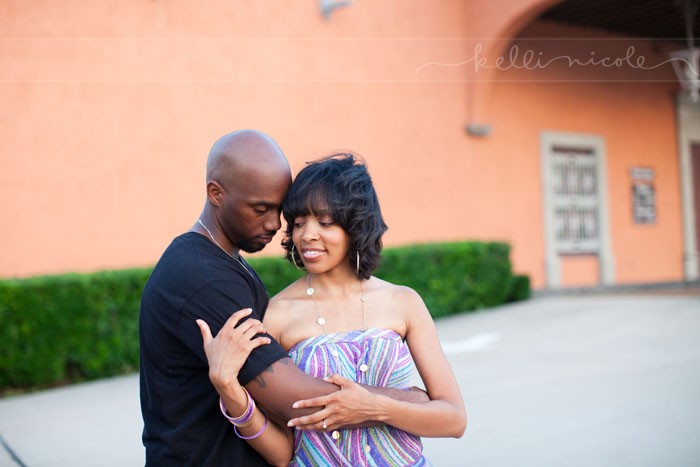
Sometimes, there’s not much of a difference between the Lightroom and the Photoshop version.
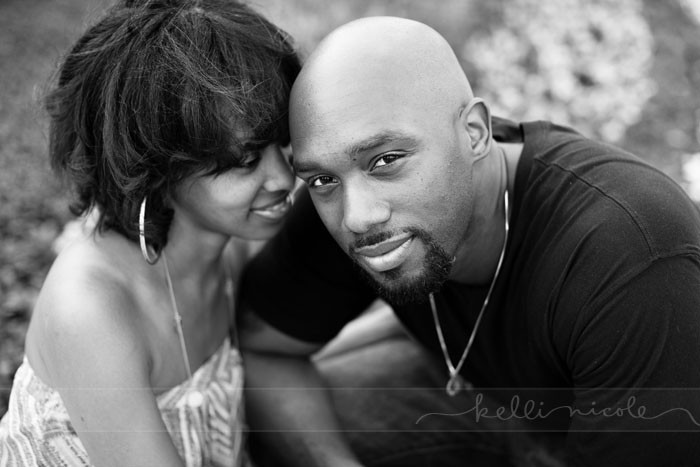
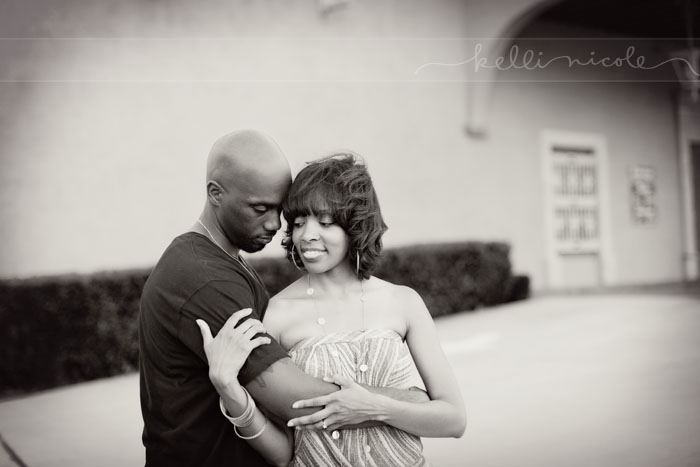
Occasionally, I’ll edit a picture in color and also want to do a monochromatic one (black and white, sepia, etc). This was also done in photoshop.
So there you have it. I hope that clarifies things a bit. If anyone’s interested in step-by-step Lightroom or Photoshop editing leave a comment!





 We took several pictures of him swaddled like this with different hats on, but as soon as we took the swaddle off he was not happy with us!